How to Test a 3-Phase Motor with a Multimeter — Step-by-Step Guide for Beginners
Learn how to test a three-phase motor using a digital multimeter in this easy-to-follow guide. We’ll cover how to check motor windings, identify open circuits, test for insulation faults, and confirm your motor’s health before powering it on. Perfect for electricians, technicians, and anyone working with industrial motors — no advanced tools required!
MOTOR AND CONTROL
ELEKTRECA
10/14/20253 min read
How to Test a Three-Phase Motor with a Multimeter: A Simple Guide
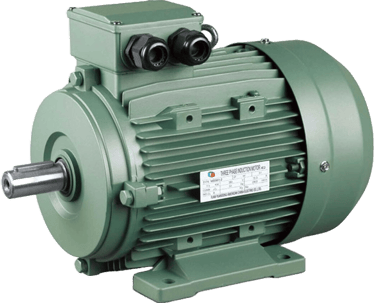
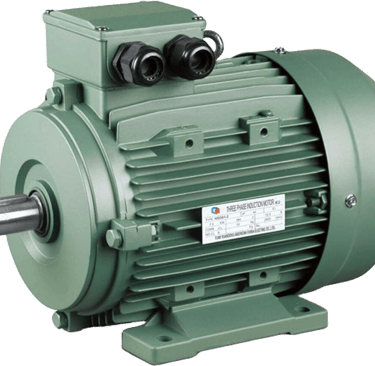
Three-phase motors power a lot of industrial machinery, HVAC systems, pumps, and more. But sometimes they stop working and you need to figure out why. One of the most straightforward ways to diagnose troubles is using a multimeter. In this post, I’ll walk you through how to test a three-phase motor with a multimeter, step by step, with tips and caution along the way.
What You’ll Need
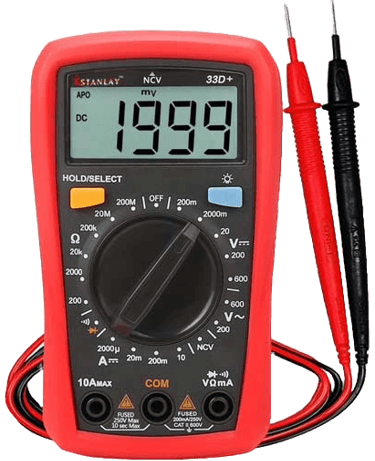
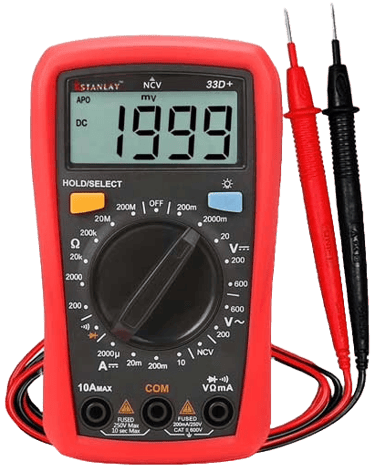
A digital multimeter (capable of measuring resistance/continuity/voltage)
Safety gear: insulated gloves, safety glasses
The motor’s wiring diagram or nameplate data (if available)
A reliable power source (to test under load, if needed)
A notepad — to record measurements
Understanding the Motor’s Wiring
Before you begin, it’s essential to know how a three-phase motor is wired. The common configurations are:
Star (Y or wye)
Delta (Δ)
In a star configuration, each phase winding is connected to a common neutral point.
In a delta, each phase connects the end to the start to form a loop.
Knowing which connection your motor uses is key, because resistance and voltage readings differ accordingly.
Step 1: Test for Continuity / Open Circuit
Turn off / isolate all power to the motor.
Set your multimeter to the resistance (Ω) or continuity mode.
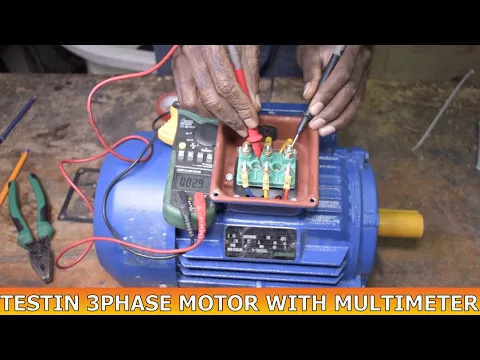
Identify the three-phase terminals (often labelled U, V, W or 1, 2, 3).
Measure between each pair of terminals (U–V, V–W, W–U).
If one of these pairs shows infinite resistance (open circuit), it means that the winding is broken.
All pairs should show some resistance (not zero) if the windings are intact.
Step 2: Compare Resistances
Compare your three measured values. For a healthy motor:
The resistances between U–V, V–W, and W–U should be very close to each other.
Minor differences are okay (due to winding tolerances).
A large discrepancy suggests a winding issue (like shorted turns or uneven winding).
Step 3: Insulation / Ground Test
You also want to ensure no motor windings are shorted to the motor body (ground).
Set the multimeter to a high resistance range (megaohms, if available).
Measure between each terminal (U, V, and W) and the motor frame/earth ground.
You should see high resistance (ideally “open” or in the megaohm range).
Low resistance here means there’s a leakage or short to the frame — bad sign.
Step 4 (Optional): Power / Voltage Test
If everything checks out at no power, you may want to test under live conditions (only if you’re qualified and cautious!):
Reconnect the motor.
Power it on briefly (under supervision).
Use the multimeter (in AC voltage mode) to measure voltage between each pair (U–V, V–W, W–U).
The voltages should be very close (balanced). A big imbalance means a supply or internal problem.
Interpreting the Results
Broken coil, open circuit
Shorted turns, damaged winding
Insulation failure, leakage to ground
Supply issue or internal imbalance
One winding is open (infinite resistance)
Resistances are wildly different
Low resistance to frame
Voltage imbalance under power
Posible Issue
Condition
If all checks are good, your motor is probably okay electrically (mechanical or external issues might remain)
Safety & Tips
Always disconnect the power before doing resistance tests.
Never test live unless you know exactly what you’re doing.
Use proper protective gear (gloves, goggles).
Be aware that motors can hold residual voltage; discharge them if needed.
Refer to the motor’s datasheet or nameplate for expected resistance or voltage values.
In Conclusion
Testing a three-phase motor with a multimeter is a practical and effective way to catch common winding or insulation faults before things get worse. Start with continuity, check for consistency, test for insulation to the frame, and carefully verify under power if needed.
Insights
Connect
david@elektreca.com
+254786927909
© 2026 ELEKTRECA.COM | Privacy Policy | Terms of Service | Disclaimer